The original stock worked quite well. But it had one mortal flaw – It was not modular. The new Gen 2 Stock System fixes this problem.
The new stock has three Neck types and four Butt types as well as a TPU rubber pad. The parts are interchangeable and can be set up to the preference of the end user.
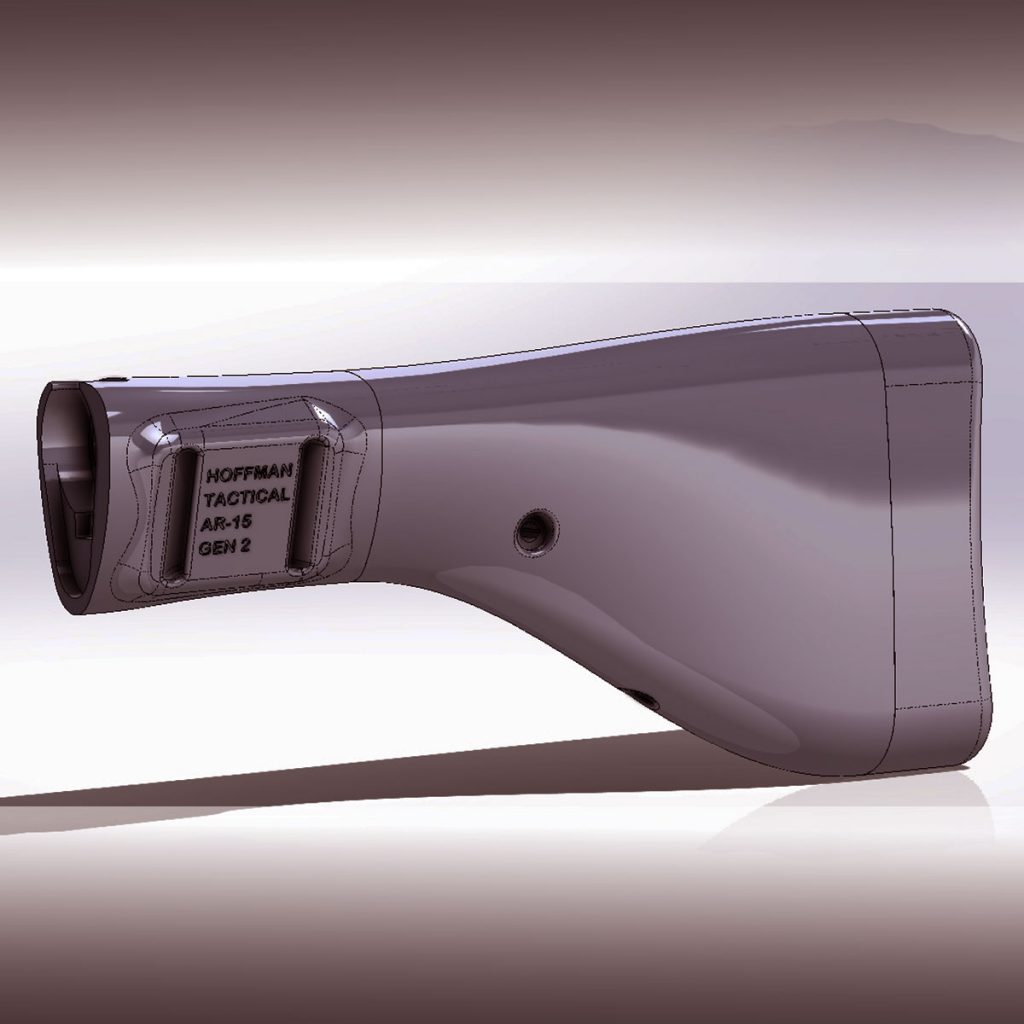
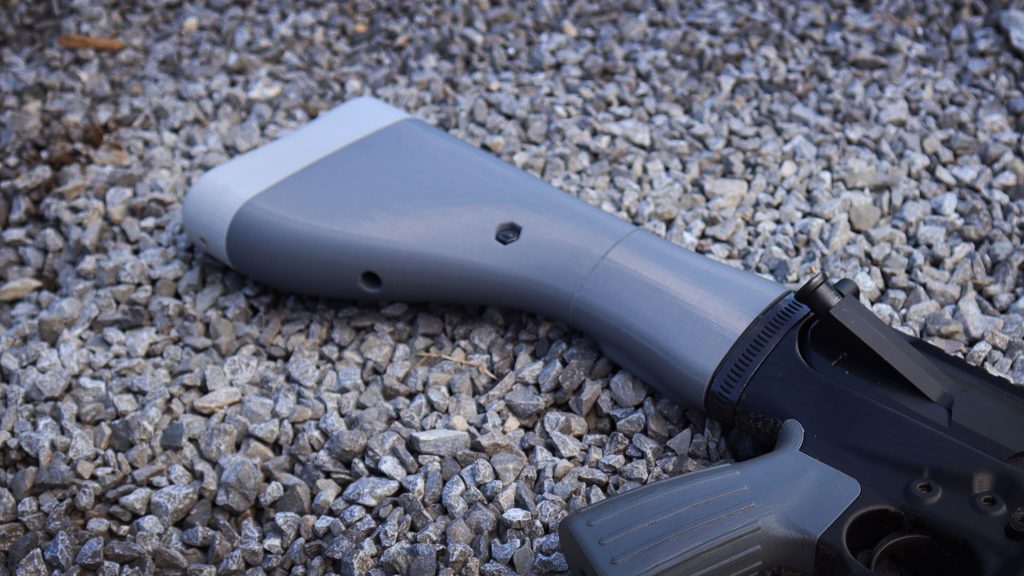
The three Necks are designed to blend smoothly with the AR-15 Super Lower, the LR-308 Super Lower or a Mil Spec aluminum lower. The stocks are available in two different lengths with and without the rubber pad. Below, center, can be seen an LR-308 Stock equipped with a Ninja Flex pad. The overall shape and lines of the new stock, left, is a little bit more conventional then the original.
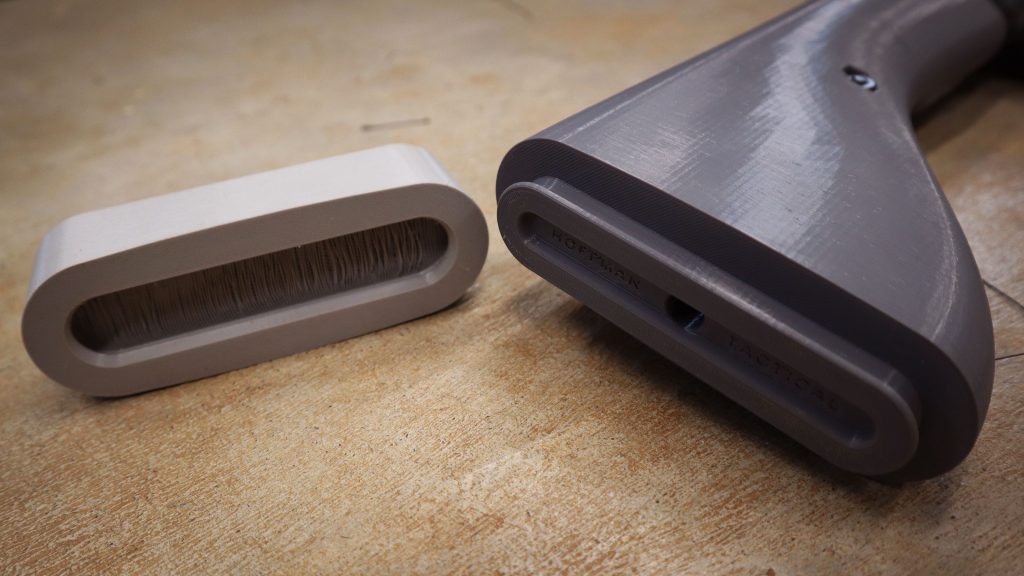
On the right you can see how the TPU Pad snaps into place over the end of the Butt.
After you download the files, your next step will be to slice them. In the download folder I have included a couple of .3MF files that can be opened with Prusa Slicer that contain the recommended print settings. There is a trick when slicing that will make your stock stronger and lighter. That is variable infill density. In Prusa Slicer (and problebly Cura), you can right click on an object and then select “Add Modifier”. You will be able to select a few different shapes, a cylinder is best for most things. Now this cylinder can be moved and scaled until it is in the same area as the clamping screw on the Butt. You can right click on the cylinder and add a infill modifier, this will allow you to add a much higher infill density around the high stress clamping screw, while maintaining a low weight infill elsewhere. The same can be done for the neck to add more infill or walls to the sling mounting slot. These changes are reflected in the included .3MF files, make sure to take a look at them. I will also do a video covering the process in more detail.
Another Prusa Slicer trick can be used to make the Pad softer. And that is variable layer height. If you set the top few layers to print very thin, you can get a thinner top wall with the same number of top layers, resulting in a softer surface. If this makes no sense, wait until the video is out and you will then understand 😉
For the stock and neck I recommend Prusa default setting modified so as to have three walls and use ten percent gyroid infill. And of course the before mentioned variable infill modifiers.
For the TPU Pad I recommend two walls and twenty percent gyroid infill. The top and bottom layer count is very important when printing the Pad, two bottom layers and three top layers is what I use. The reason for only two bottom layers is so that the air inside the pad can escape through the porous only-two-layer bottom, and then through the vent hole in the stock. Without this venting the trapped air would prevent the pad from deforming when in use.
The best filament for printing stocks would be Alloy 910 from Taulman 3D. It has incredible layer adhesion and is perfect for the application. You may even get away with using only two walls on the stock and neck. PLA+ is a close second and what I use for most of my stocks. PC is also a good option. though if you use too few walls you may get cracked layers.
I use Ninja Flex for the Pad, but any soft filament would work. I would recommend something at least as soft or softer then Ninja Flex though.
As always, the stock is clamped into place onto the buffer tube with a 10 – 32 x 1.25″ button head machine screw and 0.375″ wide nut. These parts are included in the standard Reinforcement Kits. Also it is important to note that the stock is designed for use with Mil Spec buffer tubes. Some other tubes can be of a slightly different diameter and cause fit problems. I recommend printing the Neck first and testing it for use before printing the larger Butt. If it’s too tight, you can always use XY size compensation or a little scaling to adjust the fit.
Stay tuned for the video describing how I print stocks!
Looks good. How soon will the video be released?
Video should be up in the next couple of days.
Your Awesome dude!