Our new releases include detailed documentation on assembly, as well as linked assembly videos. However, our older lower designs do not have this level of documentation, the videos below will provide info on assembly.
Below is a video that goes over the entire process of assembling your lower from the build plate of the printer to a completed rifle. A V2.4 AR-15 Super Lower was used in the video, but the process applies to LR-308 and newer lowers as well.
In the below video I show a better way to install the front take down pin. It’s a much better method then the one demonstrated in the above video.
Here are a few tips specific to assembling the AR-9 lower: https://odysee.com/@hoffmantactical:3/Tips-for-assembling-the-ar-9:4
The part of the assembly that is most different from a standard lower is highlighted below. The installation of the bushings.
Bushings are the little brass donuts that come in the Reinforcement Kit. There are four of them. The purpose of the bushings is to distribute the load from hammer and trigger pins so that the plastic is not damaged and the pins don’t “walk”.
There are pockets on the inside of the action well on the lower that the bushings press into. Once installed the lower is assembled like any other lower. Of course if you try to press the bushings into there pockets by hand or with plyers, it won’t be easy. That’s why each kit comes with a special tool just for installing bushings. Read on to see how to use it to properly install bushings in your 3D printed Super Lower!
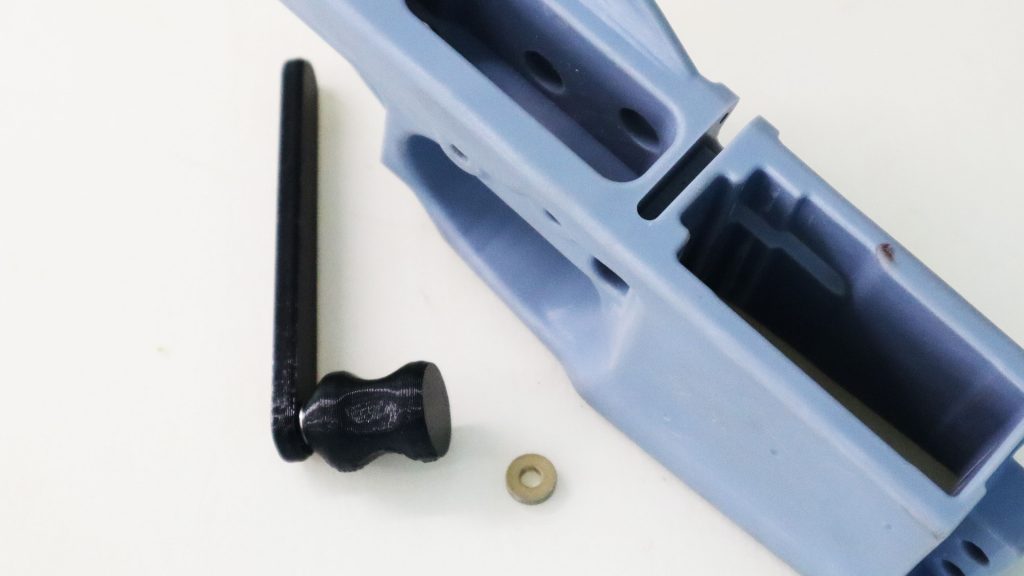
The first step is to get your bushings, the lower and your bushing installation tool ready.

Then you will disassemble the tool. You will see the handle has a threaded stud on one end, the knob screws onto this. There is a small washer between the two. Don’t lose this, as it will be needed later.
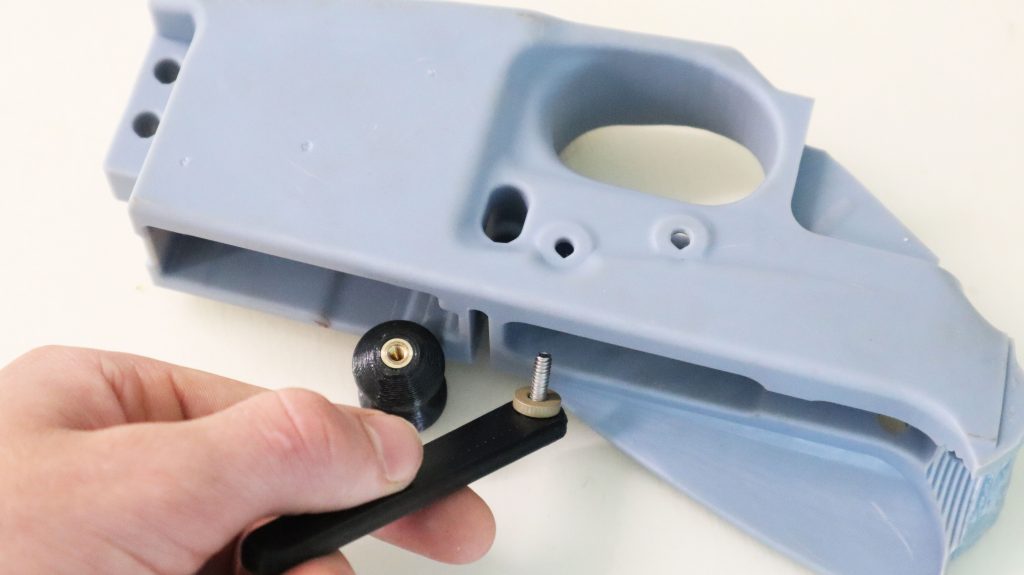
After the knob and washer have been removed, drop one of the bushings over the threaded stud on the handle.
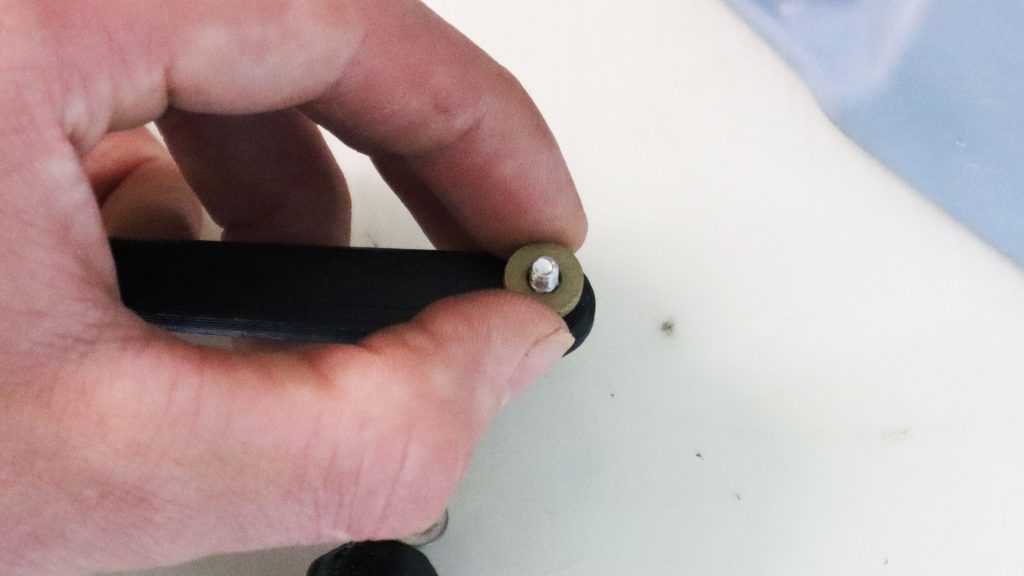
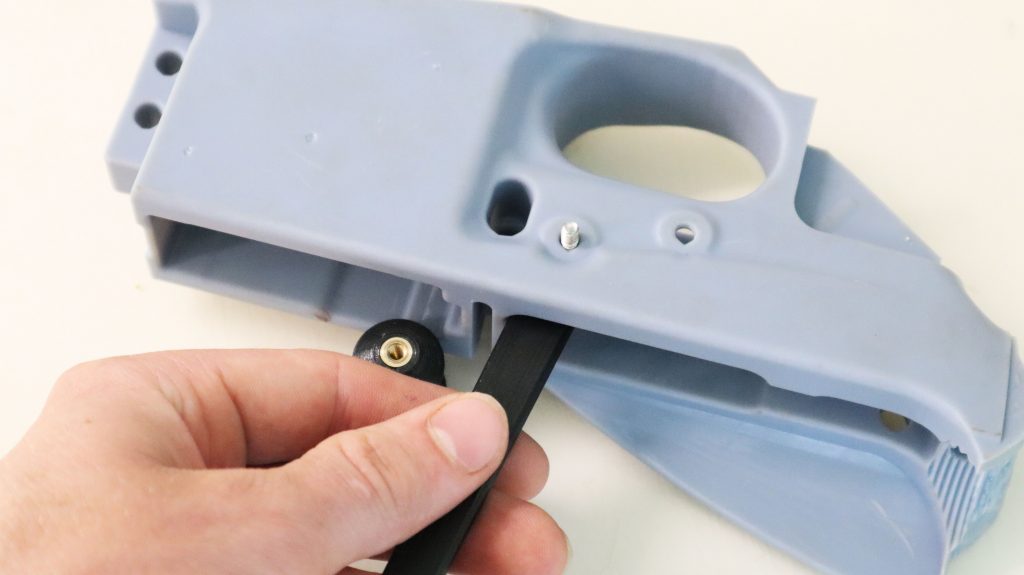
Slip the stud end of the handle into the action well and slide the stud through the pin hole in the lower. It does not matter what order you install the bushings.
Here you can see the threaded stud coming through the hammer pin hole.
Drop the washer over the stud…
And then screw the knob onto the threaded stud.
This is a view from of the inside. Here you can see the bushing sandwiched between the handle and the wall of the lower. All you need to do to install the bushing, is hold the handle and turn the knob to pull it in!
After the bushing is pulled all the way in the handle should be flush with the inside of the lower. Once you are content with this, remove the knob and washer and then take the handle out of the action well.
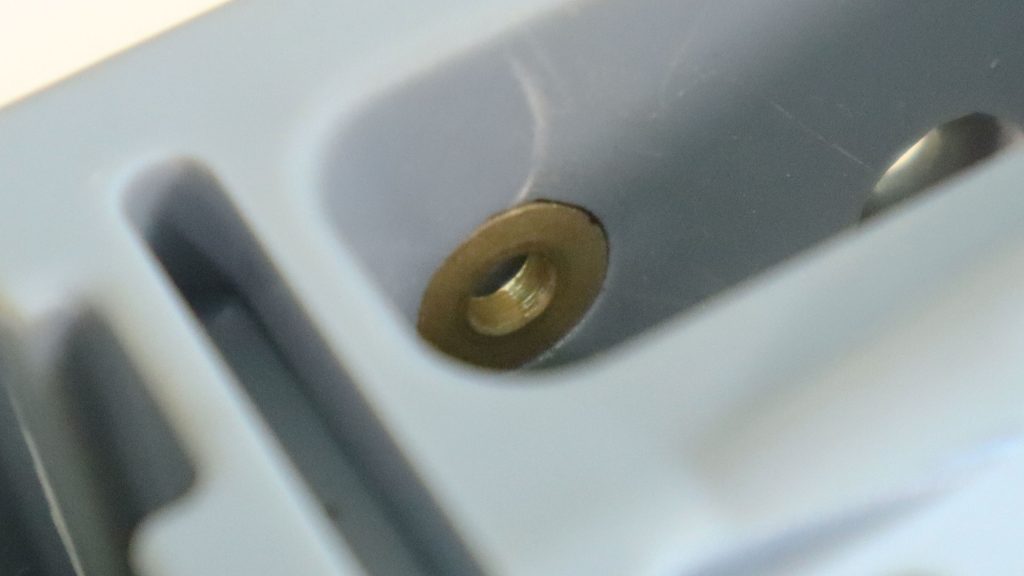
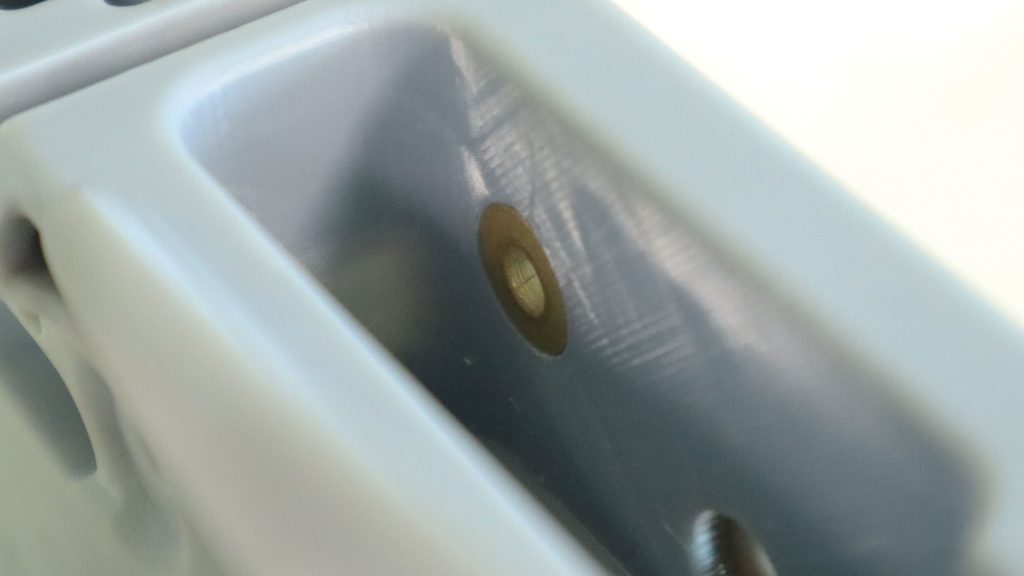
That’s it! Here is what your installed bushing should look like. Flush or slightly sub flush with the inside wall of the action well.
Now just repeat this process with the remaining three bushings!
Below are a couple more shots of what your installed bushing should look like. If you ever need to remove the bushings from your lower, say to upgrade to a new version, then use a small punch to pop them out.

That’s all! Return to the home page.